Recall escalation sends e-mails to facility contacts notifying them of items past due and\or coming due. Contacts can be grouped to allow e-mails to be sent monthly, quarterly or yearly.
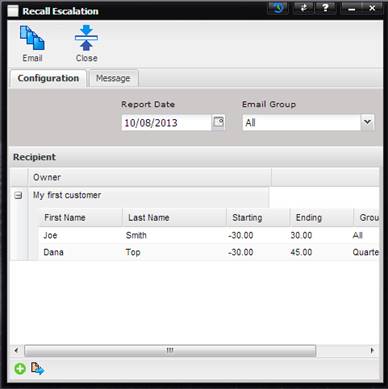
The Configuration tab of the Recall Escalation dialog displays the facilities and contacts that will receive the email.
- Report Date – Date on which the Recall Report is based. The frequency is based on the Start Offset and End Offset entered for each contact. See the Escalation Days dialog below.
- Example: Assume the Start Offset is 5 and the End Offset is 15, if the Recall Date was 1/1, the recall escalation would occur 5 days from 1/1 (1/6) and then 15 days after (1/21).
- Email Group – Filters which recipients will receive e-mails. Blank will send to all.
- Customer – The owner of the recalled Assets and list of contacts associated with the owner that will receive the emails. Customer^ can be sorted by ascending or descending order by clicking on the header of the column.
- Use the “+” or “-“ next to the Customer^ to view the contacts associated with that facility.
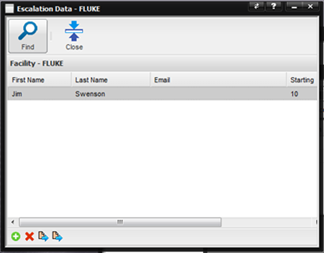
The Add button opens the Escalation Data dialog used to add facilities and contacts
·
Begin by
selecting the Find button which opens the Find Facility dialog for selecting a
facility.
·
Use the “+” button at the bottom of the Escalation Data
dialog to add contacts that belong to the facility listed. The Escalation Days
dialog is displayed.
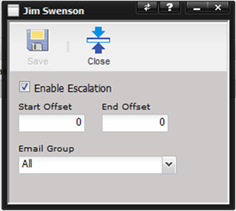
o Enable
Escalation – If checked, this Contact is active for receiving
email escalations.
o
Start Offset
–Number of days from the Report Date to start the recall. Negative numbers can
be used.
o
End Offset –
Number of days after the Report Date to end the recall date span.
o
Email Group –
The escalation group (monthly, quarterly, yearly) this Contact belongs to for
email sending.
·
Use the “X”
button at the bottom of the Escalation Data dialog to delete contacts from the
escalation email list.
·
Use the first Quick
Link button or double click a highlighted
contact to change or modify the escalation information for the contact. The
Escalation Days dialog is displayed.
·
Use the second Quick Link button to view or modify the
selected contact.
·
Use the Close
button to return to the Recall Escalation dialog that displays all the facilities
and contacts that will receive the email.
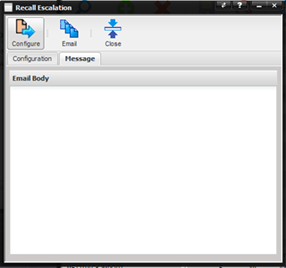
The Message tab of the Recall Escalation dialog contains the email body for the email that will be sent.