The Files tab displays files related the Facility. Files may be related either by Attach File (attaches an existing file) or by Upload File (uploading a new file). The buttons to the right of the grid can be used to add, delete, modify, or view files.
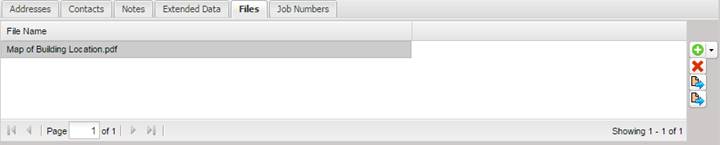
When the “+”button on the right is selected, the user is presented with two options: Attach File or Upload File.
Note: MET/TEAM can only
upload files that are 50mb or smaller.

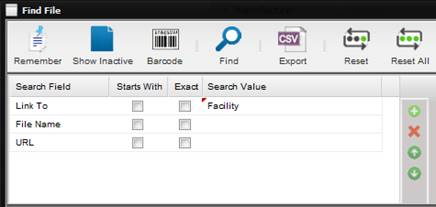
To attach an existing file to a Facility, select the Attach File option. The Find screen is displayed for finding the File to add. The Link To field is prefilled with “Facility”. Press the Find button. The displayed files are those files that were previously added using the Maintenance menu Files submenu and created with the Link To set to Facility. Select the file to attach from the results grid and press OK.
To attach a new file to a Facility, select the Upload File option. This option adds the File (as if the user had used the Maintenance menu Files submenu) and at the same time attaches the new File to the current Facility.
The Add File screen is displayed with the Link To “Facility” preselected from the dropdown. Select the Browse button to select the File to upload.
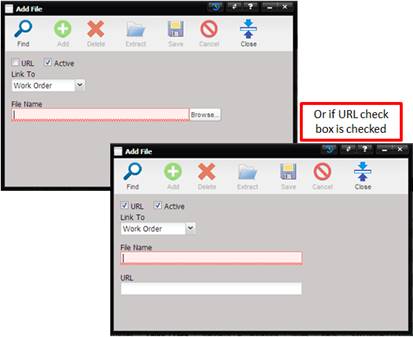
When the Save button is selected, the new File is saved as a File, the Files screen is closed, the new file is attached to the current Facility and the Files grid refreshes on the Facility screen.

To remove a File, highlight the record in the grid on the Files tab and select the “X” button on the right of the Files tab.
To modify a File link, highlight the record in the grid on the Files tab and select the Quick Link button (the 3rd button) on the right side of the Files tab.
To view the selected File, highlight the record in the grid on the Files tab and select the Quick Link button (the 4th button) on the right side of the Files tab.