- Select the Users submenu from the Setup
Menu.
- Select the Add button on the Find User
screen to enter the Add User screen in add mode.
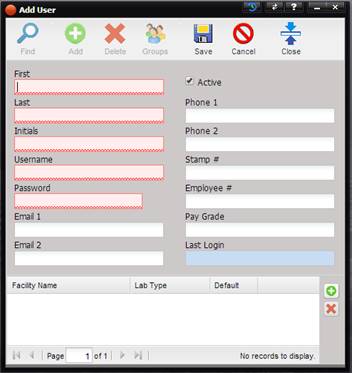
- Enter data for the user. The minimum
data required is the user’s first name, last name, initials, username, and
password as indicated by the red squiggled text boxes. Select the Save
button.
- You are prompted to add a Lab for the
user. Each user must be associated with a Lab.

- When the OK button is selected on the
prompt, the Find New Lab screen is displayed, select the Find button. The
available Labs are displayed in the Find grid. Note: a Facility is
a Lab if the Lab checkbox on the Facility screen is checked. If
the Lab you are trying to assign to this user to is not displayed, the Lab
checkbox on the Facility screen for the lab was not checked. No need to
exit this screen just select the Facilities option under the Maintenance
menu, find the Facility, check the Lab checkbox, and save the Facility.
Return to the Find New Lab screen for the user and select the Find button.
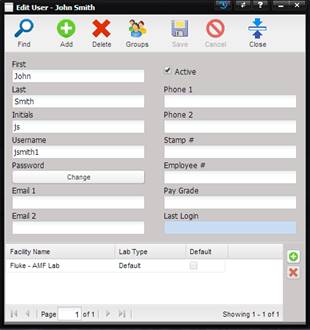
The screen is refreshed and the Lab is in the list. Double click the
desired Lab and select the OK button. The Find screen is closed and the
Lab is displayed at the bottom of the Edit User screen. Additional labs
can be added by selecting the “+” to the right of the grid.
- To add a user to a User Group, select
the Groups button at the top of the screen. The Assign Groups dialog is
displayed for assigning users to Groups.
- Select the desired group(s) and select
the Save button when done.
Top of Page